
Even the best-maintained sauna will age over time. Wood can darken, develop small cracks, or lose its natural luster. Regular refinishing and rejuvenation help keep your sauna safe, comfortable, and attractive. Learn when to sand, oil, or replace panels for optimal care.
1. Identifying When Wood Needs Attention
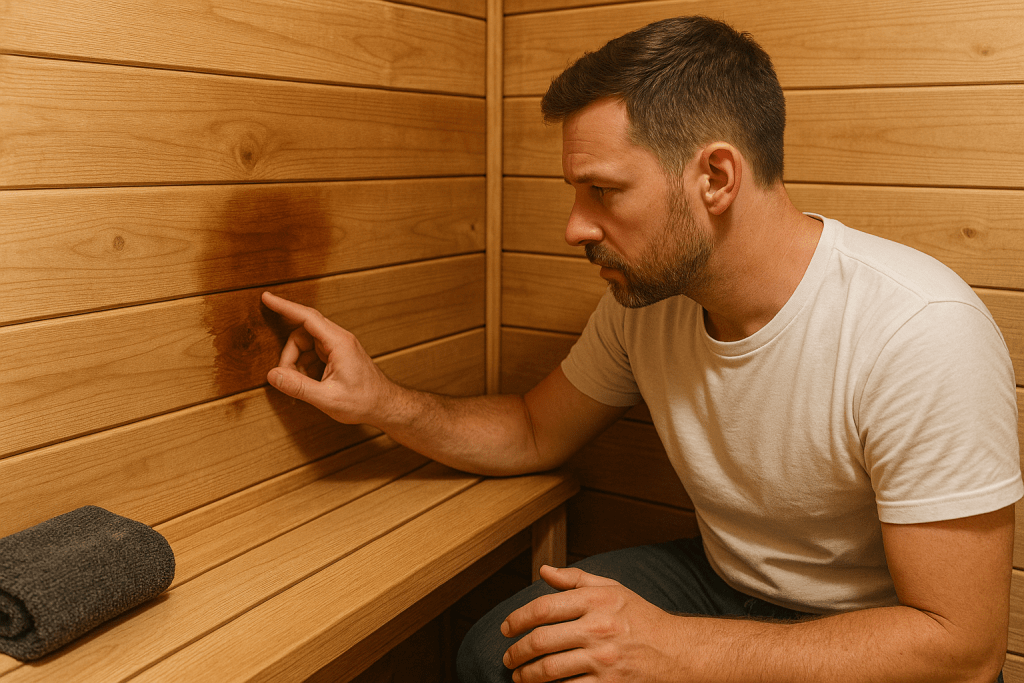
Before starting any refinishing work, it’s important to evaluate the condition of your sauna wood. Common indicators include:
- Discoloration: Faded or uneven wood tones indicate surface wear or sun damage.
- Cracks or Splits: Minor cracks are normal due to heat cycles, but deep splits may compromise safety.
- Rough Surfaces: Over time, wood can become splintered or rough, making benches uncomfortable.
Addressing these signs early prevents further deterioration and keeps the sauna user-friendly.
2. Sanding: The First Step to Rejuvenation
Sanding is essential for smoothing rough surfaces and removing the outer layer of worn or discolored wood.
- Use fine-grit sandpaper (120–150 grit) for walls and benches.
- Always sand along the grain, never against it, to avoid scratches.
- Vacuum or wipe away dust thoroughly before applying oils or treatments.
Sanding not only refreshes the wood’s appearance but also prepares it for protective treatments, ensuring maximum absorption and longevity.
3. Oiling: Nourishing and Protecting the Wood
Applying natural oil is a simple and effective way to restore moisture, enhance color, and protect against cracking.
- Cedar oil or linseed oil is ideal for most sauna woods.
- Apply with a soft cloth or brush, working along the grain.
- Allow the oil to penetrate for at least 30 minutes, then wipe away any excess to prevent sticky surfaces.
Oiling also helps maintain the wood’s natural aroma and prevents the surface from drying out, especially in dry climates.
4. When to Replace Panels
Sometimes, sanding and oiling aren’t enough. Replacement is necessary when:
- Boards are structurally compromised or have extensive rot.
- Panels show deep cracks that sanding cannot fix.
- Wood has been overexposed to moisture and has persistent mold or discoloration.
Using durable woods like cedar, hemlock, or thermowood for replacement panels ensures both longevity and comfort. Proper installation and spacing allow the wood to expand and contract naturally.
5. Maintaining Refinished Wood
After sanding, oiling, or replacing panels, maintaining the wood is essential:
- Regular cleaning: Wipe down benches and walls after each use to remove sweat and residue.
- Ventilation: Keep the sauna ventilated to allow moisture to escape, preventing mold or warping.
- Seasonal care: Inspect for UV damage, leaks, or uneven wear, and reapply oil as needed.
6. Tips from the Experts
Sauna maintenance doesn’t have to be overwhelming. Expert guidance can make the process easier and more effective. For detailed advice on refinishing, oiling, and maintaining your sauna wood, check out the Backcountry Recreation blog. Their resources cover step-by-step instructions, recommended products, and seasonal maintenance tips to keep your sauna looking and performing at its best.
7. Conclusion
Sauna wood can be refinished and rejuvenated for many years. By sanding, oiling, and replacing panels as needed, you can enjoy your sauna safely and naturally. With regular care and expert tips, even older saunas can remain cozy additions to your backyard.